Not long ago, I wrote a post titled "How to Improve Website Performance Scores from 35 to 100". In that post, I promised to show you how to deploy your project on Firebase and use it for free. I am keeping my promise!
What is Firebase
Probably, some of you are not familiar with Firebase yet, so let me briefly explain to you what it is.
Firebase is a mobile and web application development platform that provides a set of tools and services to help developers build and scale their applications more easily. It offers features such as real-time database, authentication, hosting, cloud storage, and more. Firebase also provides backend functionalities and infrastructure, allowing developers to focus on building their apps without worrying about server management or complex infrastructure setup. Overall, Firebase simplifies the development process and enables developers to create high-quality applications quickly.
Today, we'll use its 'Hosting' feature to store our Next.JS project. In this example, I'll show you how to host the static version of your project. The first thing you have to do is register an account.
How to Register an Account on Firebase
To register an account on Firebase, open https://firebase.google.com/ and click on "Get started".
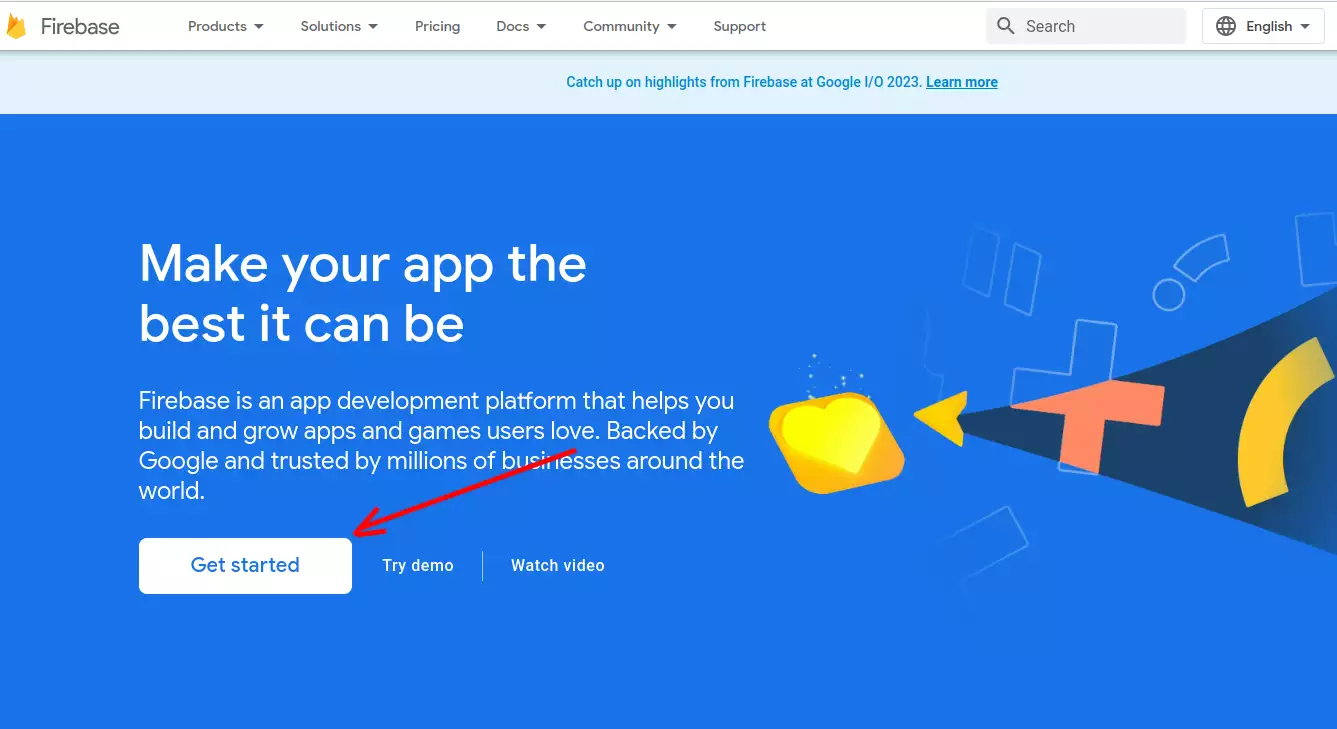
Afterward, you need to create a Google account or use an existing one. Once you're done with the first step, you'll land on the Firebase control panel. The next step is to create a project.
How to Create a Project on Firebase
To create a project you have to make 3 simple steps:
- Click on "Add project" and give it a name in the new window.
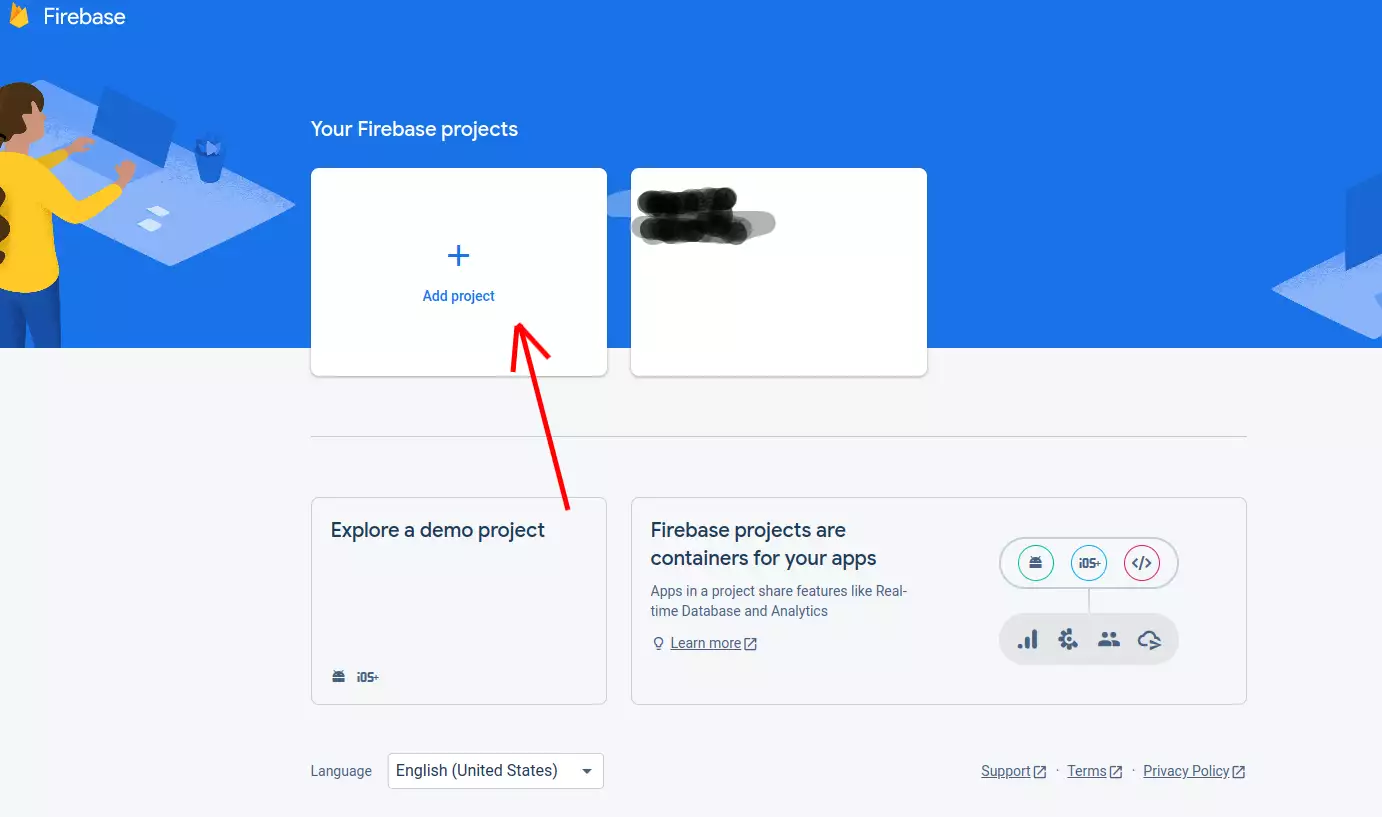
- Enable or disable Google Analytics functionality for the project and click on "Create project"
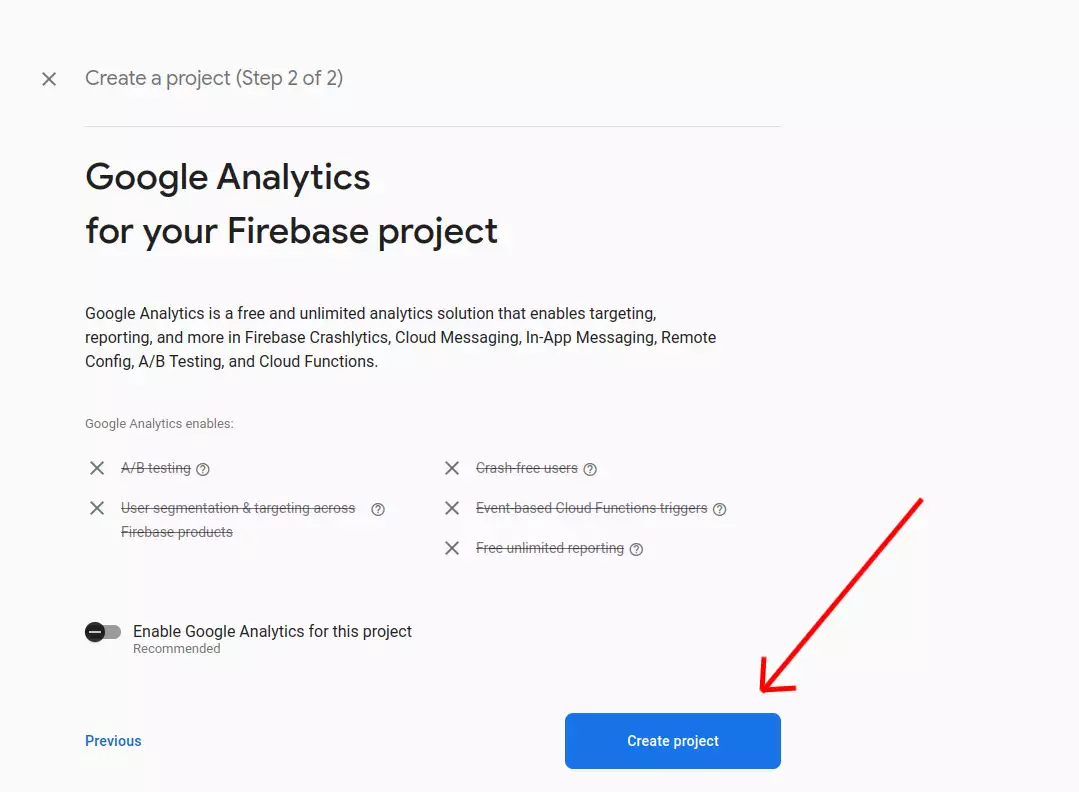
After a couple of minutes, your project will be created.
How to Use Firebase for Free
Once you have created a project, you'll be able to see it in your dashboard. By default, you'll be on the Spark Plan. If you are not, you need to change it to the Spark Plan.
The Spark Plan is a free plan without any monthly costs. It has some limitations, but it is more than enough to start your project, especially if you plan to use it as a hosting platform for your static website.
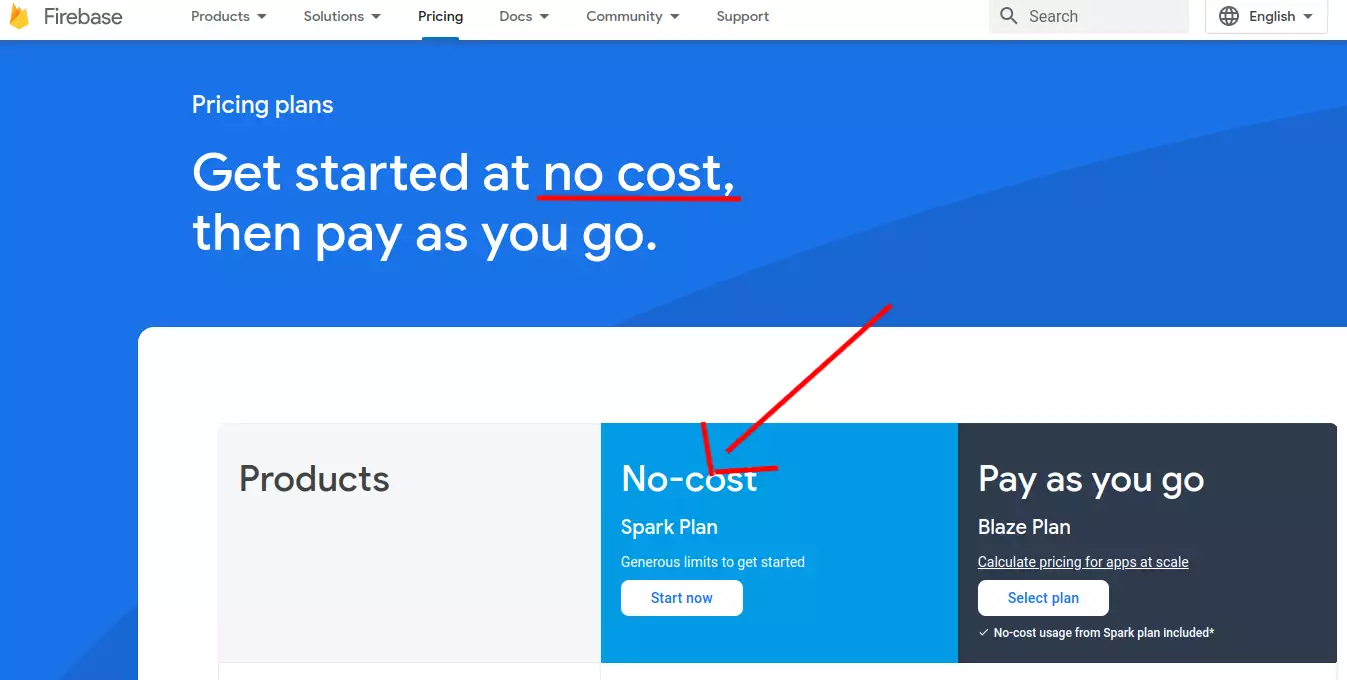
To see the full description of the plan, please visit this link.
Time to set up Firebase hosting.
How to Set Up Firebase Hosting
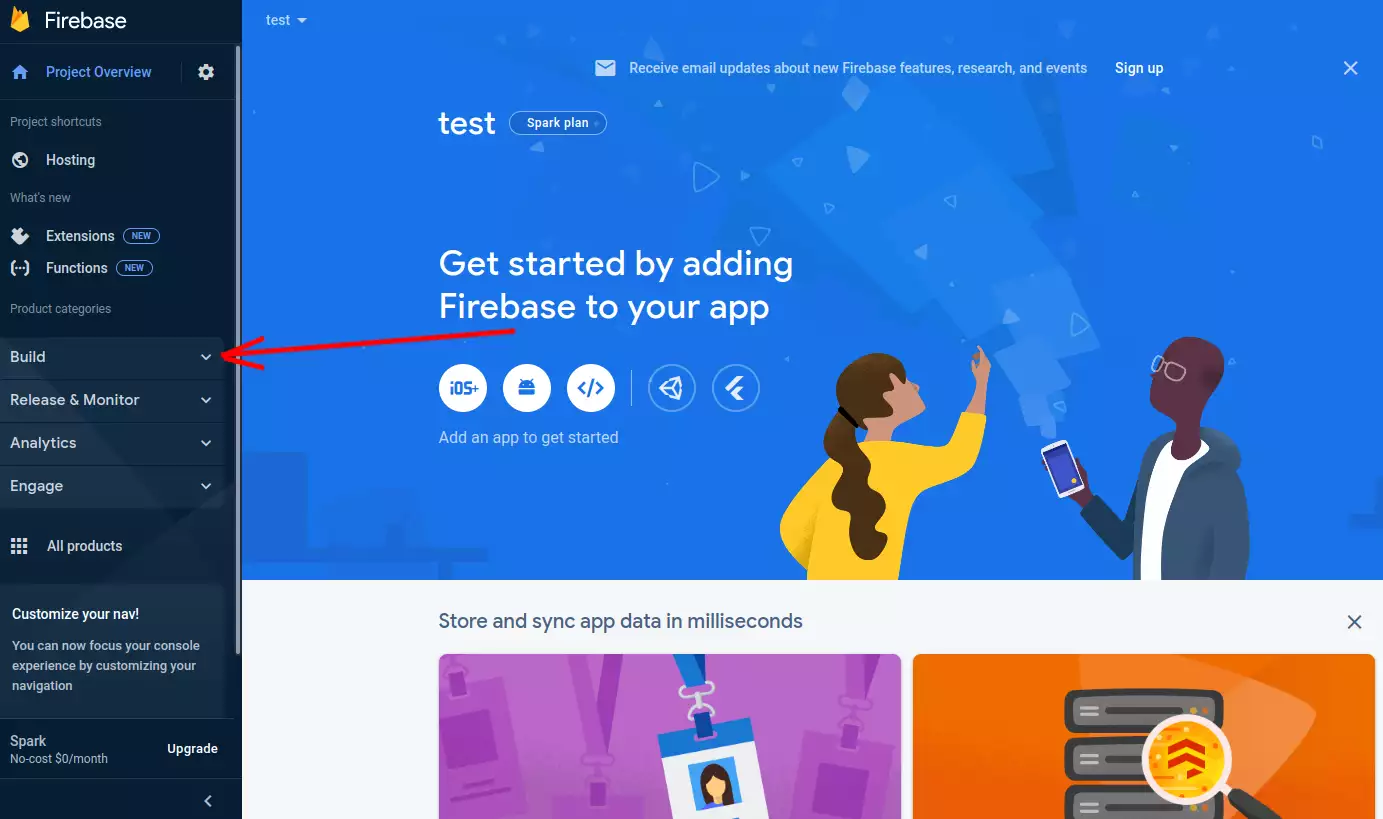
Setting up Firebase hosting is also pretty simple. Log into your account and select your project. Then, in the left menu, click on "Build" and select "Hosting" from the dropdown.
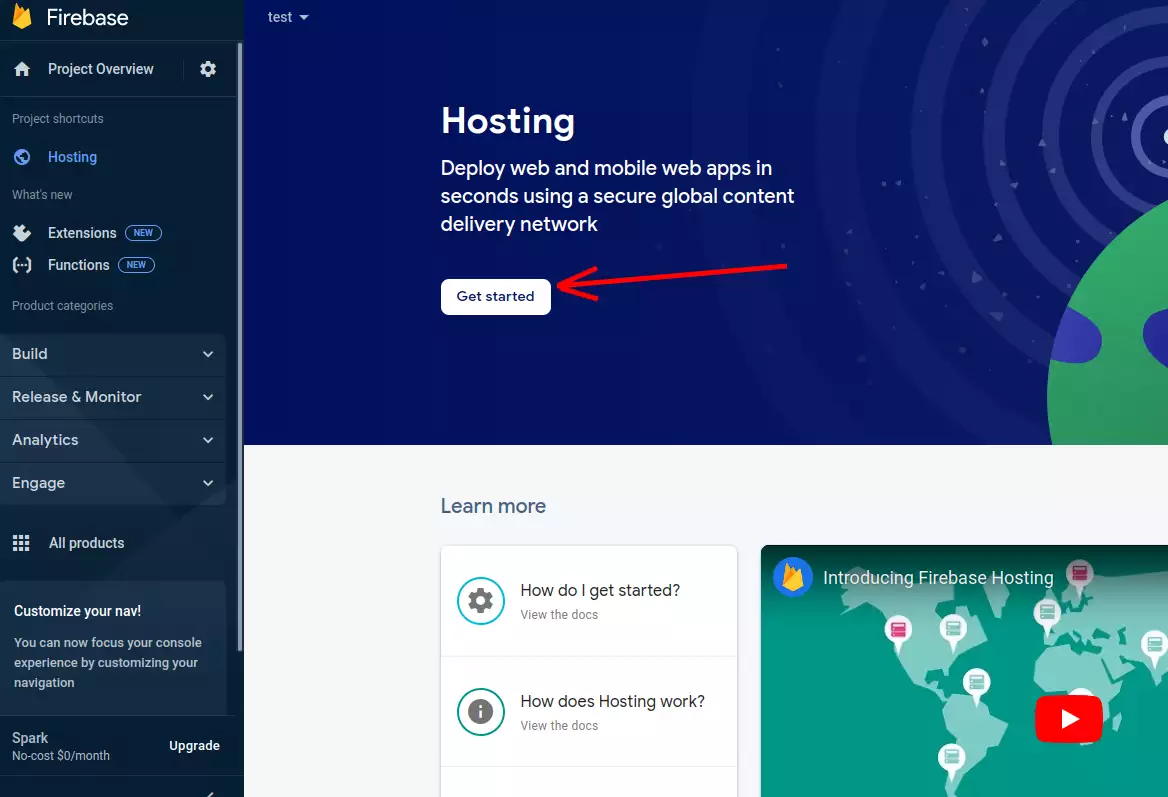
In the new window, you'll see a welcome screen. Click on "Get started".
To host your project, you need to set up Firebase CLI first.
Open your terminal window and enter the following command:
npm install -g firebase-tools
Once the setup is finished, type the following in your terminal:
firebase login
It will take you to the login screen to authorize access.
The next step is to navigate to your project folder inside the terminal window, where you have stored your static website.
Run the following command:
firebase init
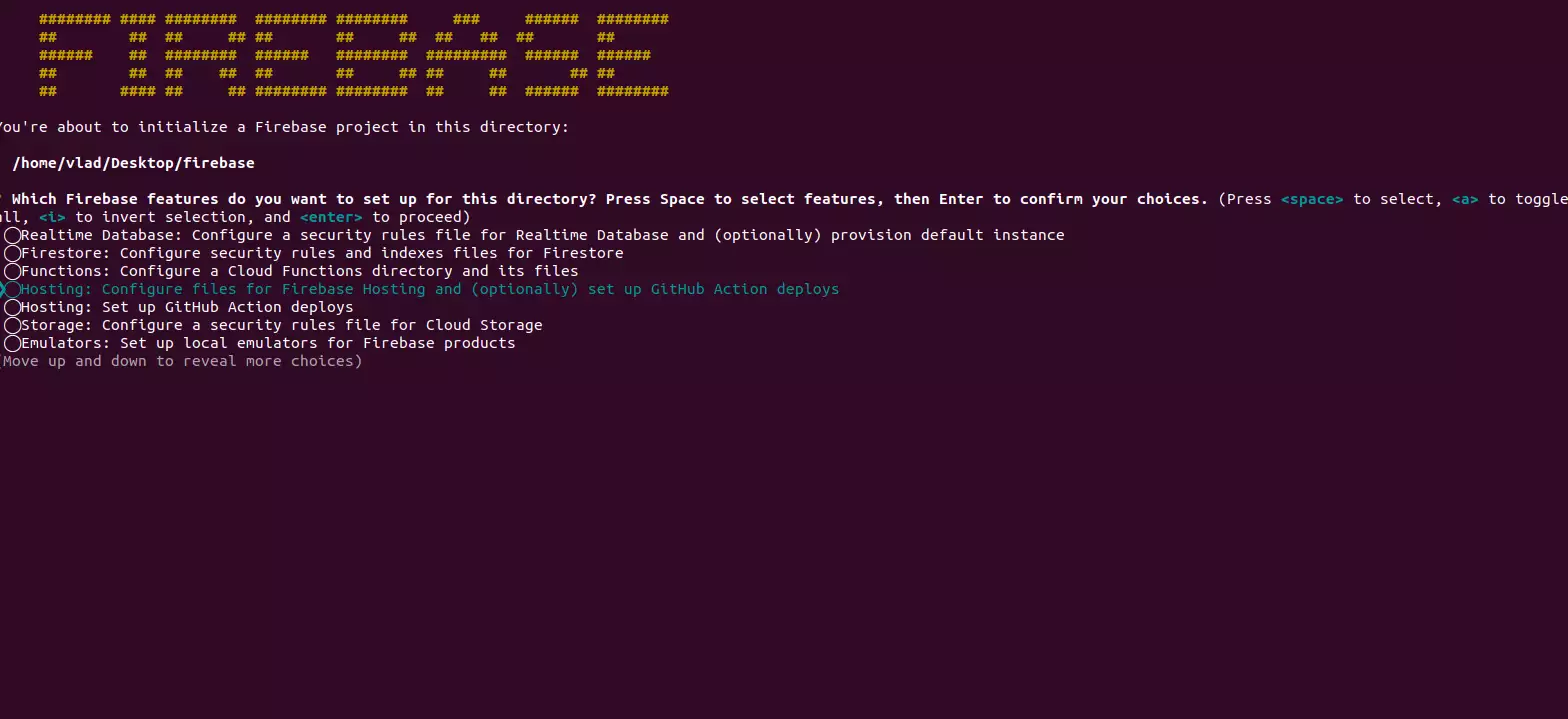
If you have done everything correctly, you should see the following in your terminal window.
In the list of options, select "Hosting: Configure files for Firebase Hosting and (optionally) set up GitHub Action deploys". Use the arrow keys on your keyboard to navigate, press space to select, and then press enter.
Next, select an account from the list and press enter.
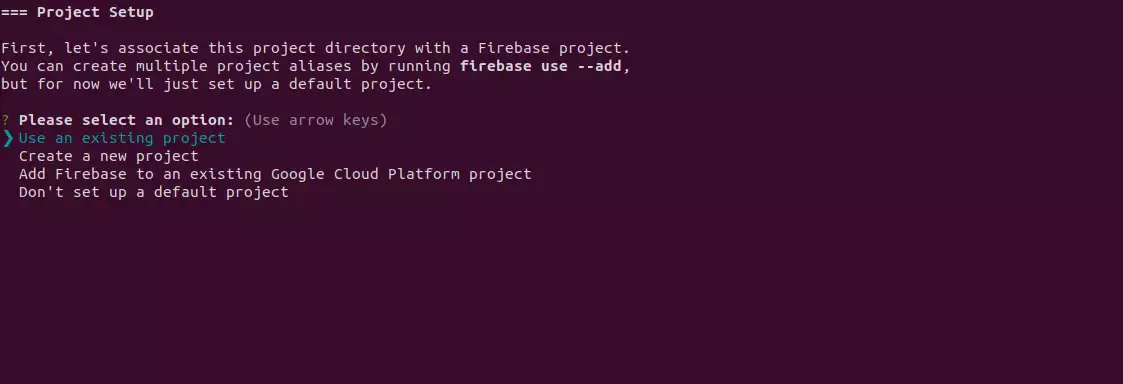
Since we already have a project, select "Use an existing project" from the list and choose the project you created in the previous step.
By default, the public directory is set to "public". If you want to specify another directory, you can do so in the next step. For example, my Next.js project produces a static version of the website in the 'out' directory, so I specify it at this step.

The last two configuration questions will be about your website settings.
- "Configure as a single-page app (rewrite all URLs to /index.html)" - Yes
- "Set up automatic builds and deploys with GitHub?" - No
We are finished with the setup. Now it's time to deploy our project to Firebase.
How to Deploy the Website to Firebase
After you have completed all the configurations, you can deploy your website to Firebase hosting.
In the terminal window, inside your project directory, enter the following command:
firebase deploy --only hosting
If everything goes well, you will see the URLs that you can use to access your website.
Video Tutorial - FREE Hosting from Google
I hope you found this article useful! In the next one, I'll show you how to set up a custom domain name for your Firebase project.
Stay tuned!


