DeepSeek R1 is an exciting AI model that you can run locally without relying on cloud services. In this guide, I’ll show you step-by-step how to set up and run DeepSeek R1 Distilled using Ollama and Open WebUI. By the end, you’ll have a fully functional local AI chatbot accessible via your web browser! If you are ready, then let’s get started! ;)
How to Run DeepSeek R1 Distilled Locally
The installation is pretty straightforward. We’ll need only four things:
- Docker
- Ollama
- Open WebUI
- DeepSeek R1 Model
Step 1: Install Docker
First, we need to set up Docker. We would need it to run Open WebUI.
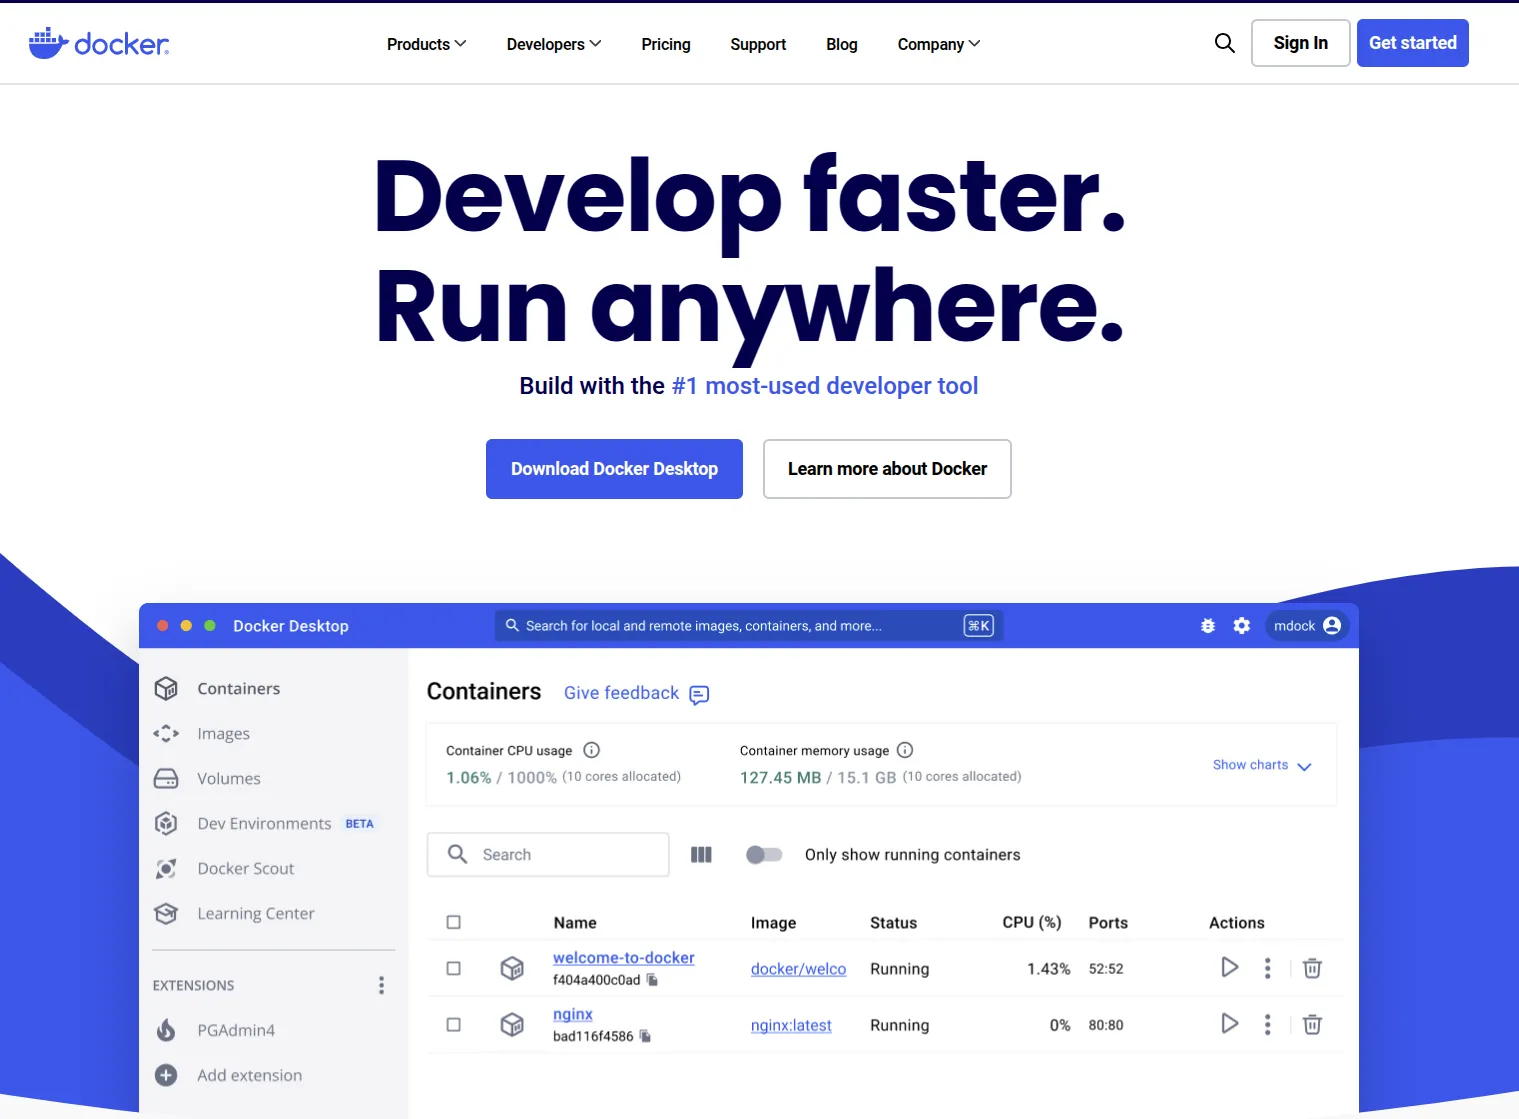
1.1 Download Docker
- Go to Docker’s official website.
- Download Docker Desktop for your operating system (Windows, macOS, or Linux).
- Follow the installation instructions for your OS.
1.2 Install Docker on Ubuntu (Linux users)
If you’re using Ubuntu, install Docker via the terminal:
sudo apt-get update
sudo apt-get install ./docker-desktop-amd64.deb
Once installed, confirm that Docker is working:
docker --version
Step 2: Install Ollama
Ollama is a tool for running AI models locally.
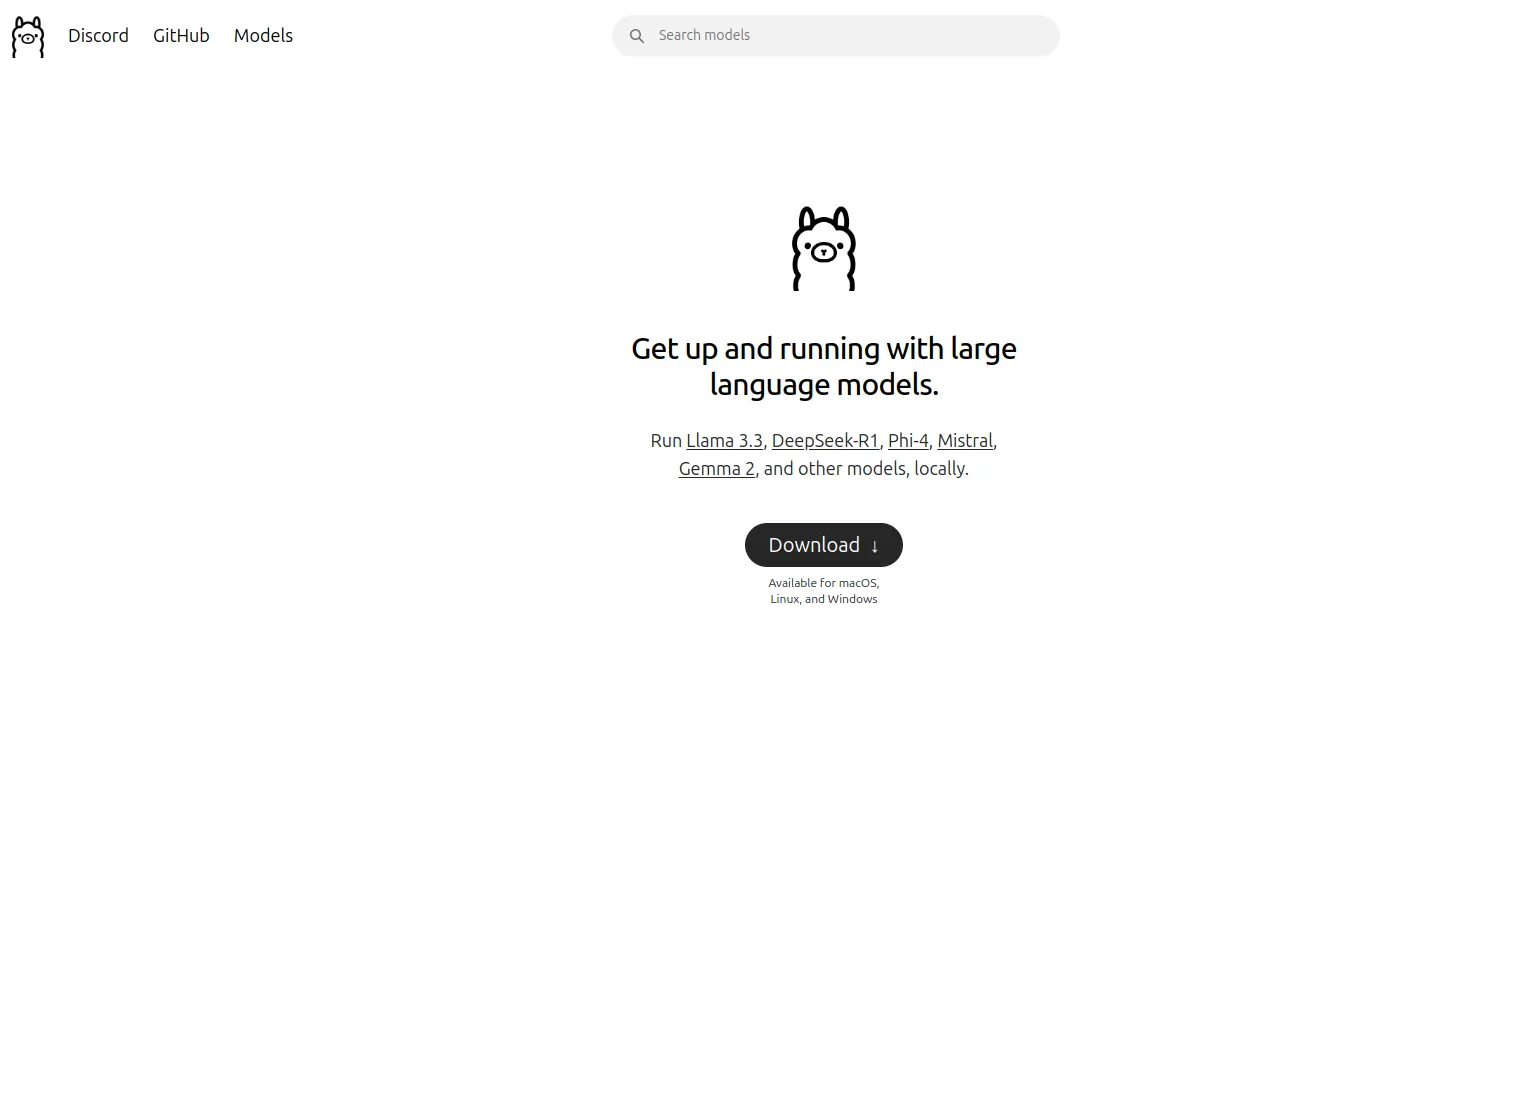
2.1 Download Ollama
- Visit Ollama’s website
- Click the Download button.
- Install Ollama on Windows, macOS, or Linux by following the instructions on the site.
2.2 Install Ollama on Linux (Ubuntu example)
For Ubuntu, install it with:
curl -fsSL https://ollama.com/install.sh | sh
Verify installation:
ollama --version
Step 3: Install Open WebUI
Open WebUI provides a user-friendly chat interface for AI models.
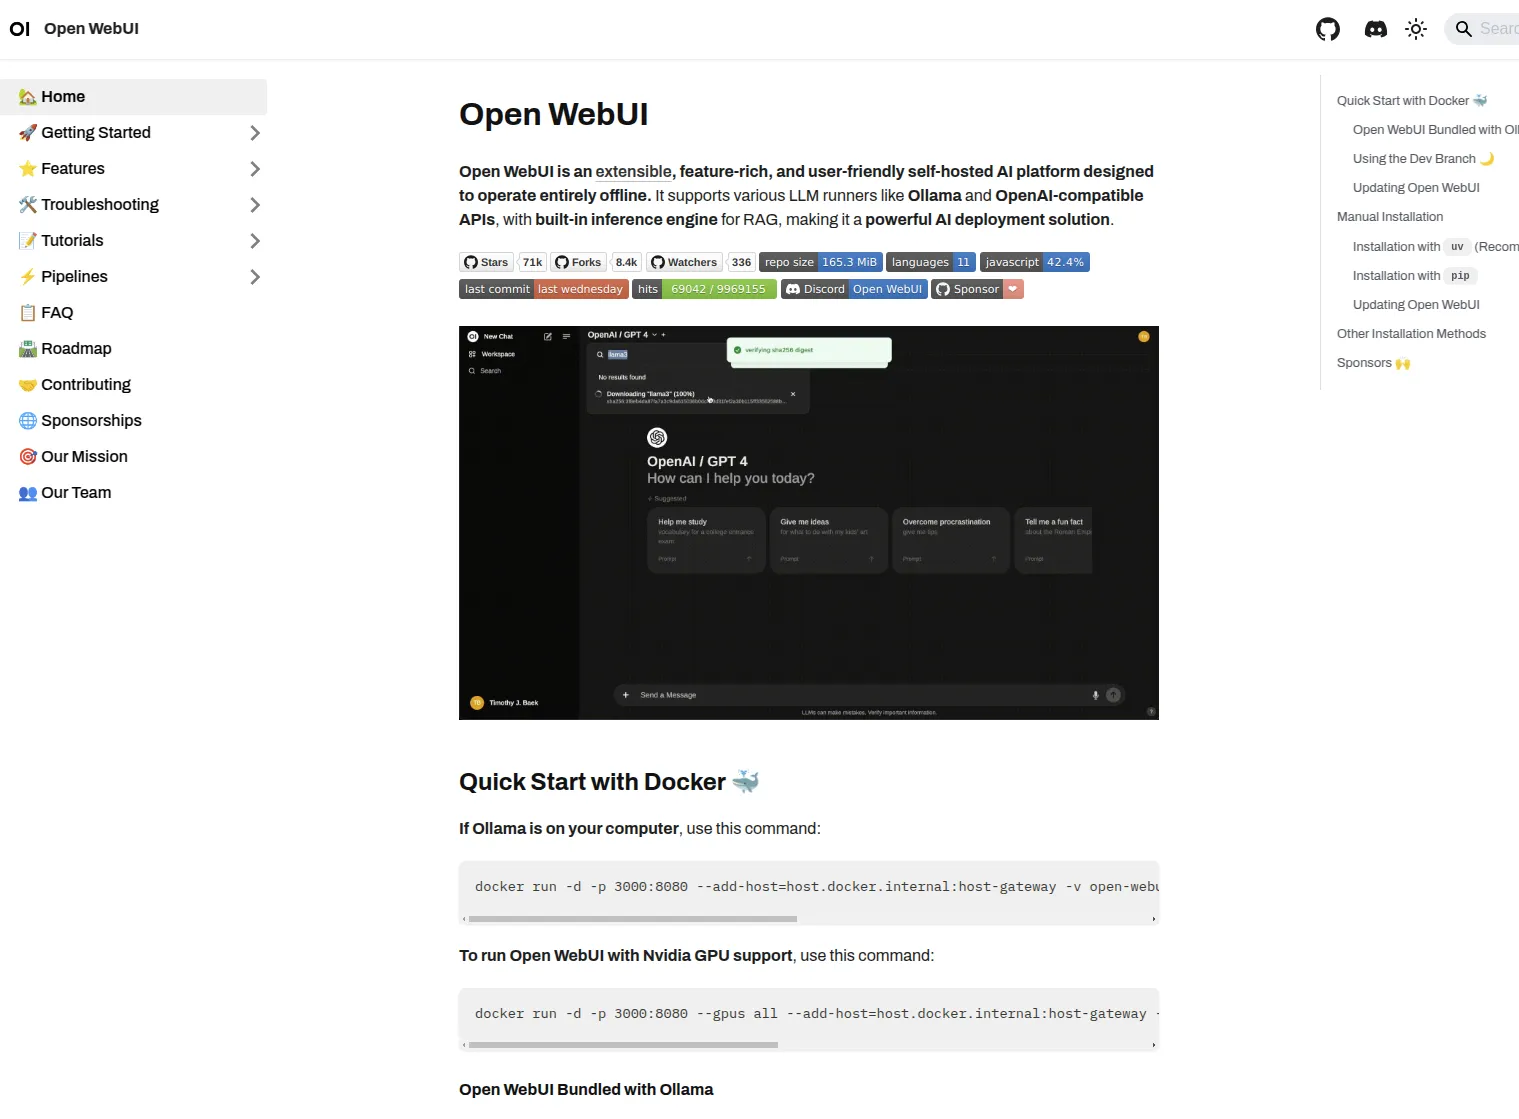
3.1 Install Open WebUI with Docker
- Open your terminal.
- Pull the Open WebUI Image
docker pull ghcr.io/open-webui/open-webui:main
- Wait for the installation to complete.
- Run the following command:
docker run -d -p 3000:8080 --add-host=host.docker.internal:host-gateway -v ollama:/root/.ollama -v open-webui:/app/backend/data --name open-webui --restart always ghcr.io/open-webui/open-webui:ollama
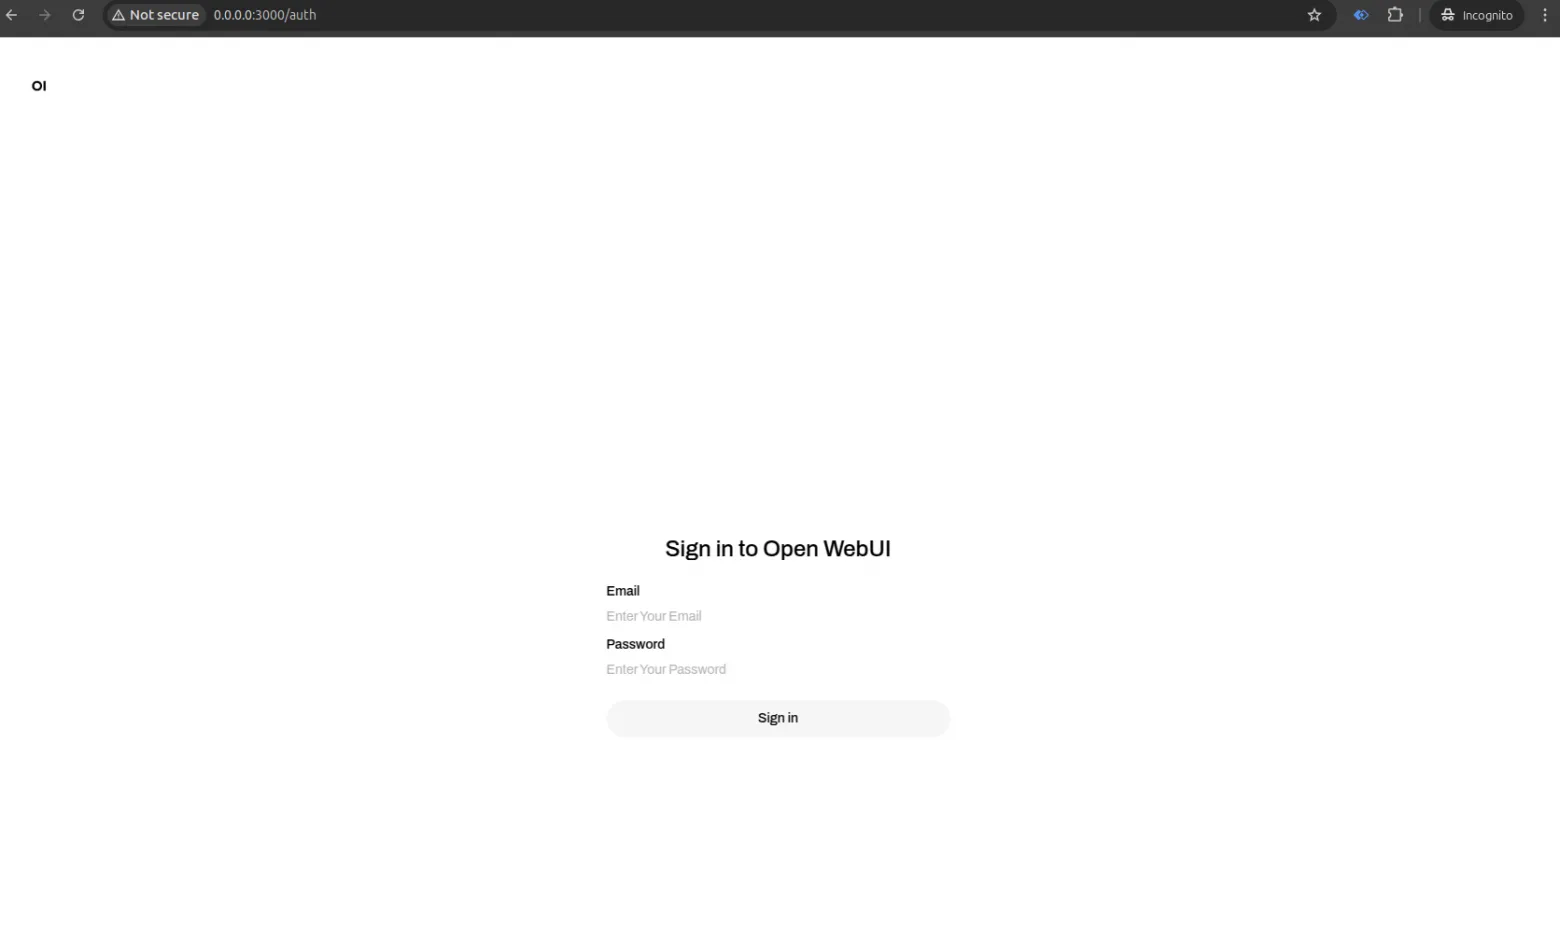
- Open your browser and go to:
http://0.0.0.0:3000 - Create an account and log in.
Step 4: Import DeepSeek R1 Model
Now that Open WebUI is running, we need to import DeepSeek R1.
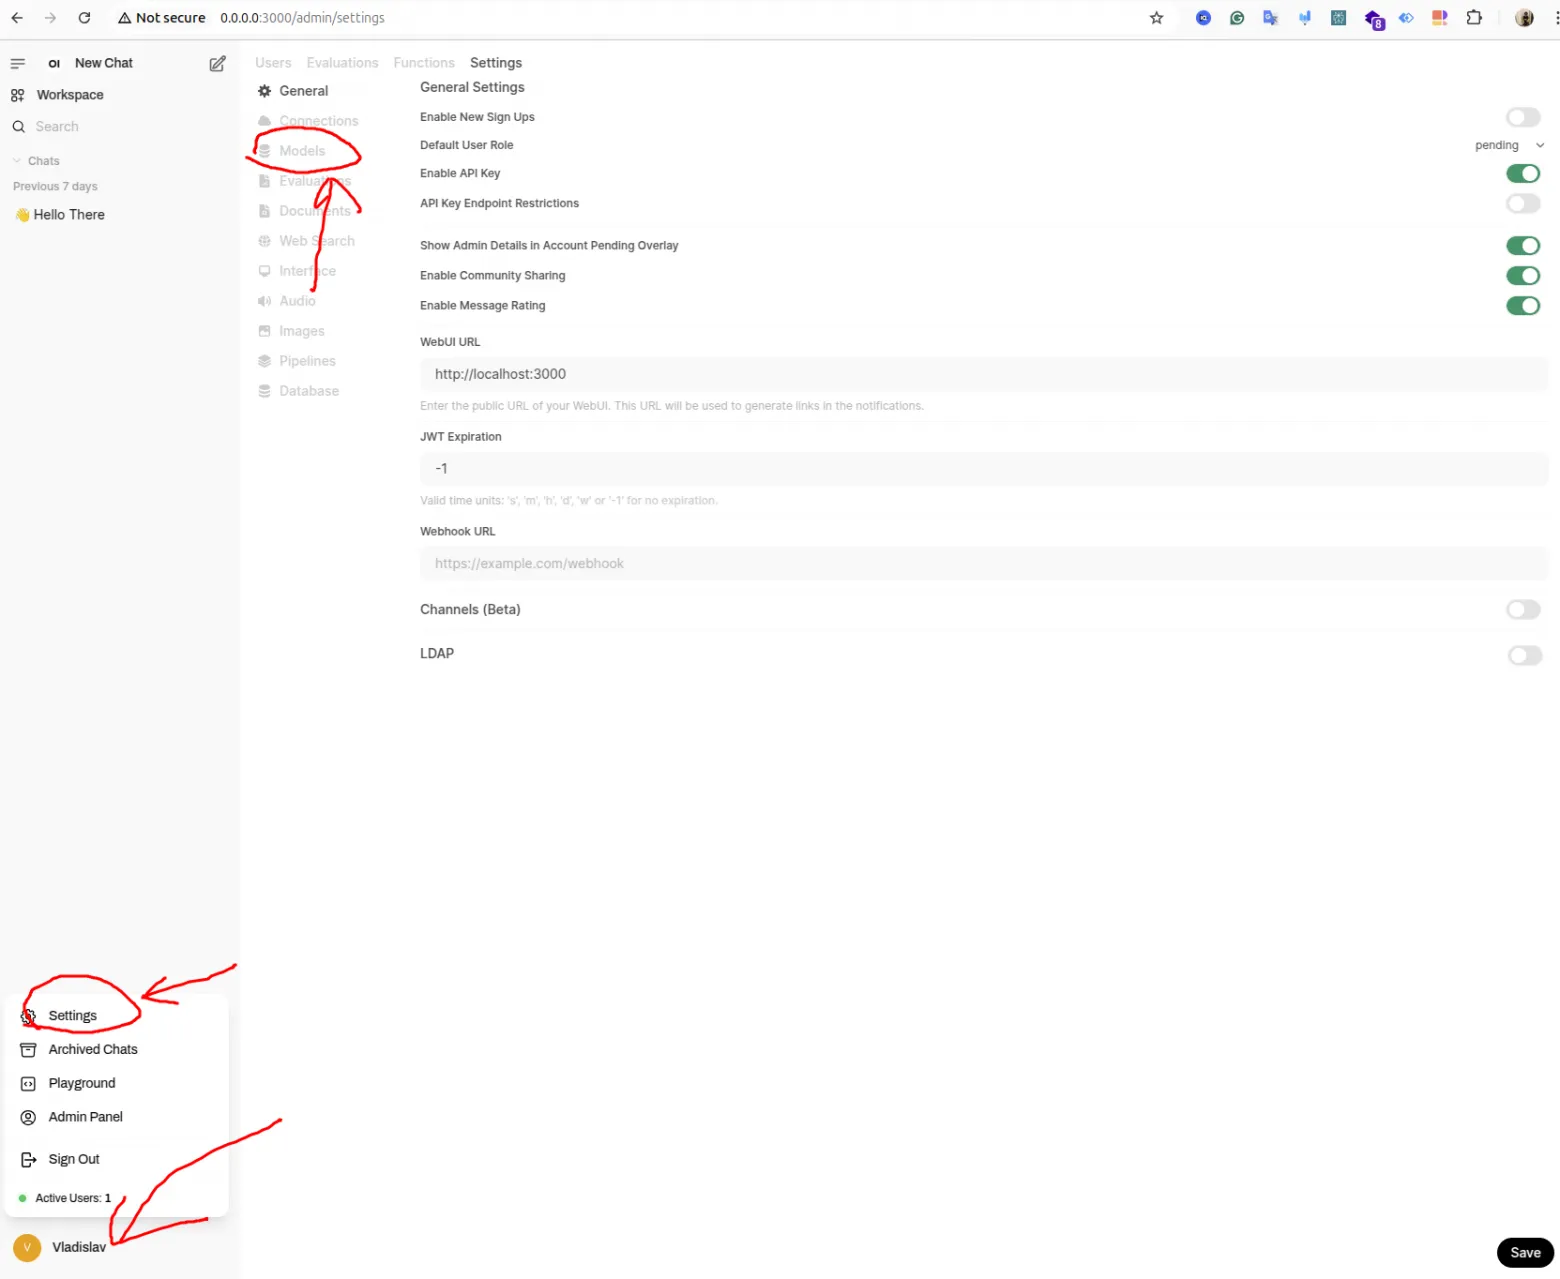
4.1 Open Model Settings
- In Open WebUI, go to Settings (bottom-left menu).
- Click Admin Settings → Models.
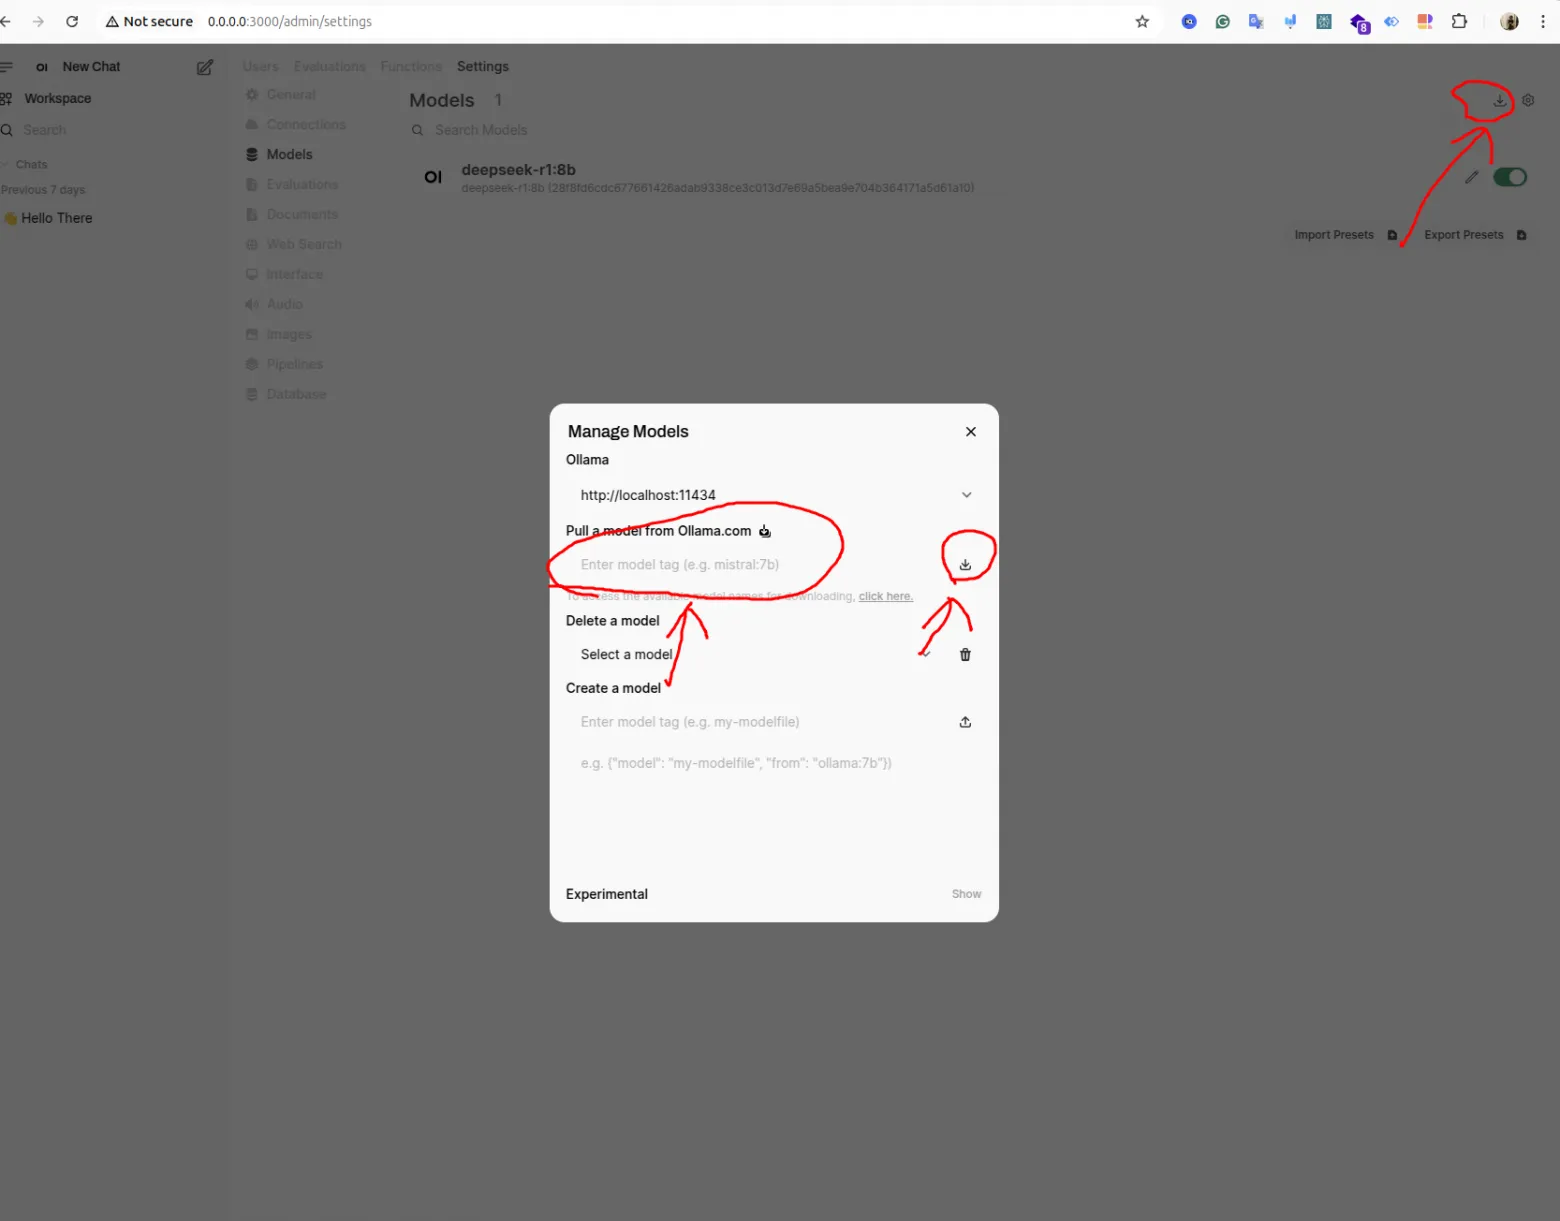
4.2 Download the DeepSeek R1 Model
- Click Import Model (top-right button).
- Open the Ollama models page.
- Find DeepSeek R1 and copy the installation command.
- Go back to Open WebUI and paste the command.
- Remove the ollama run part and keep only the model name.
- Click Import and wait for the download to complete (this can take a few minutes depending on your internet speed).
Start Chatting with DeepSeek R1
Once the model is imported, you’re ready to chat! First, refresh the Open WebUI page to ensure everything is loaded correctly. Then, click New Chat and select DeepSeek R1 from the available models. Now, type your first message and see how the AI responds!
DeepSeek R1 offers some useful features beyond basic chatting. You can upload text files to the chat for analysis. It also supports PDF summarization, allowing you to extract key insights from documents. However, note that image support is limited at this time.
If you experience any slow performance, try restarting your computer to refresh the system.
Video Tutorial
I’ve created a video for those who have trouble with written tutorials.
Watch on YouTube: Ollama DeepSeek R1
Final Thoughts
You now have DeepSeek R1 running locally and accessible via your web browser! 🎉 This setup lets you use an AI chatbot without sending data to the cloud. If you found this tutorial helpful, like, subscribe, and share your experience in the comments.
Cheers!