EASY Authentication with Firebase & Next.JS 18 (Latest)
Today, I want to share a simple tutorial on how to set up authentication in your Next.js project using Firebase. This guide will walk you through the process step-by-step, ensuring you can quickly implement a secure authentication system.
Step 1: Set Up Firebase Account
Create a Firebase Project
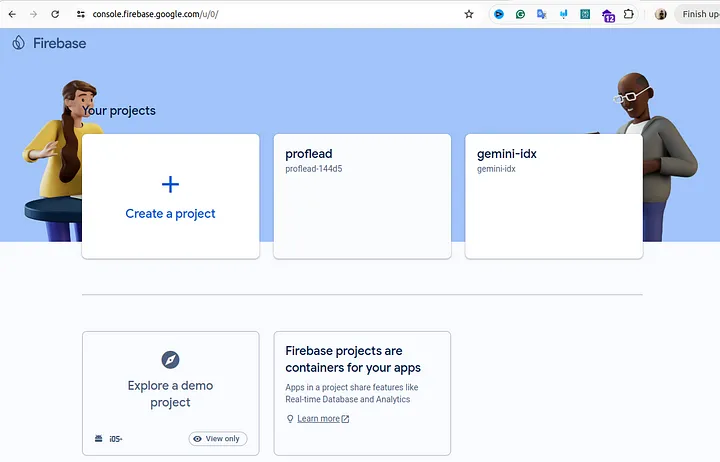
- Start by visiting the https://console.firebase.google.com/. You’ll need to create a Google account if you don’t already have one.
- Once logged in, click “Add Project” to create a new Firebase project.
- Follow the on-screen instructions to complete the project setup. This will serve as the backend for your authentication system.
Enable Authentication
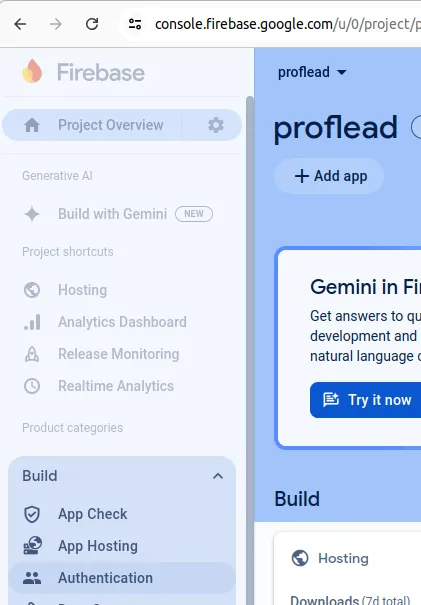
- In the Firebase Console, navigate to the left sidebar, click on “Build,” and then select “Authentication.”
- Click on “Get Started” to initialize the authentication module.
- You’ll see a list of sign-in methods. For this tutorial, we’ll enable Google and Email/Password authentication. Toggle the switch to enable each method.
- For Google sign-in, you’ll need to provide a support email, typically your Firebase Google email.
- Once you’ve configured your sign-in methods, click “Save” to apply the changes.
Set Up Your Application
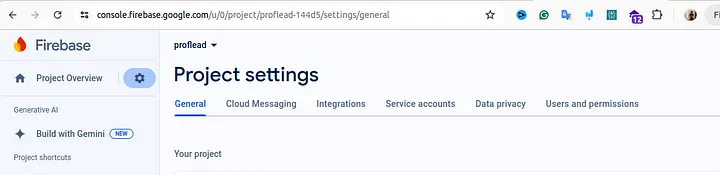
- Head over to “Project Settings” in the Firebase Console.
- Scroll to the “Your Apps” section and click “Web App.”
- Name your web app. If you plan to use Firebase Hosting, check the corresponding box.
- Select your project and click “Register App.” This will generate SDK settings that you’ll need for your Next.js project.
- Make sure to save these SDK settings securely, as they contain sensitive information.
Step 2: Set Up Your Next.js Project
Create a Next.js Application if you don’t have one yet (Optional)
- Open your terminal and create a new Next.js application by running the appropriate command (e.g., npx create-next-app).
- Navigate into your project directory and install the Firebase package using the command: npm install firebase. This will allow you to integrate Firebase services into your app.
Configure Firebase
- Open your preferred IDE, such as Visual Studio Code.
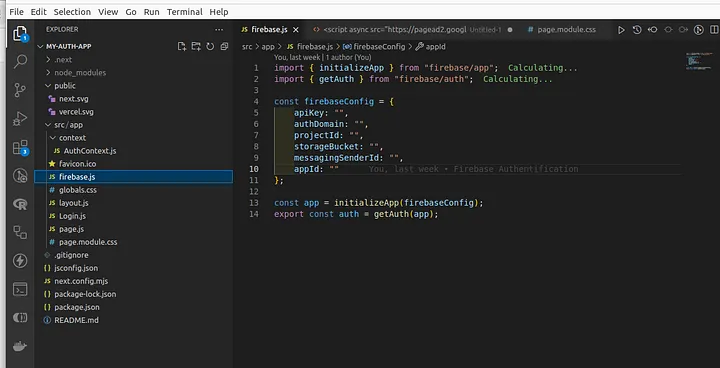
- Create a new file named firebase.js in your project. This file will hold your Firebase configuration.
- Copy the configuration data from the Firebase Console and paste it into firebase.js. This data includes your API key, project ID, and other essential settings.
- For security reasons, consider using environment variables to store these configurations instead of hardcoding them.
Source code: https://github.com/proflead/auth-next-js-app/blob/fa15aa8d6544937aa480a4308a8676a3310ed0b2/src/app/firebase.js
Create Authentication Context
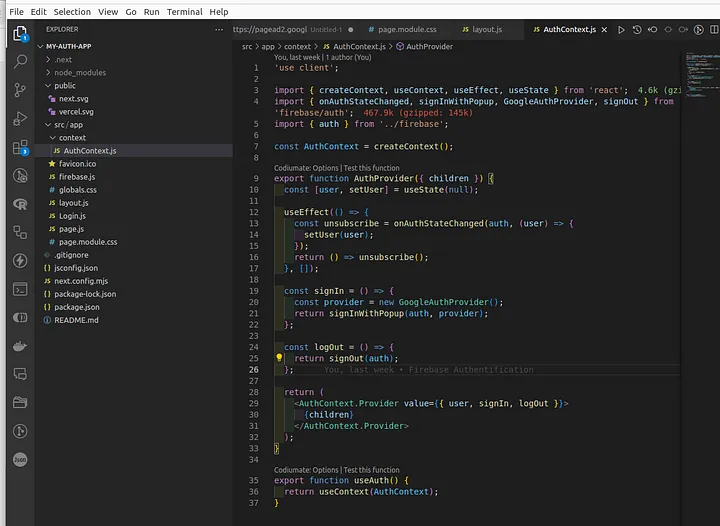
- Set up an AuthContext to manage the authentication state across your application.
- This context will store information about the current user and provide functions for signing in and out.
- Using context, you can avoid manually passing authentication props through every component.
Wrap Your Application
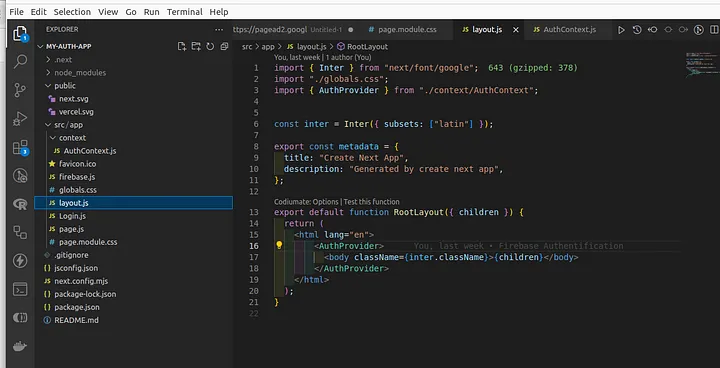
- In your layout.js file, wrap your entire Next.js application with the AuthProvider component.
- This step ensures that the authentication context is available throughout your app, making it easy for any component to access the authentication state and functions.
- Don’t forget to import the necessary components at the top of your script.
Source code: https://github.com/proflead/auth-next-js-app/blob/fa15aa8d6544937aa480a4308a8676a3310ed0b2/src/app/layout.js
Step 3: Create a Login Component
Build the Login Component
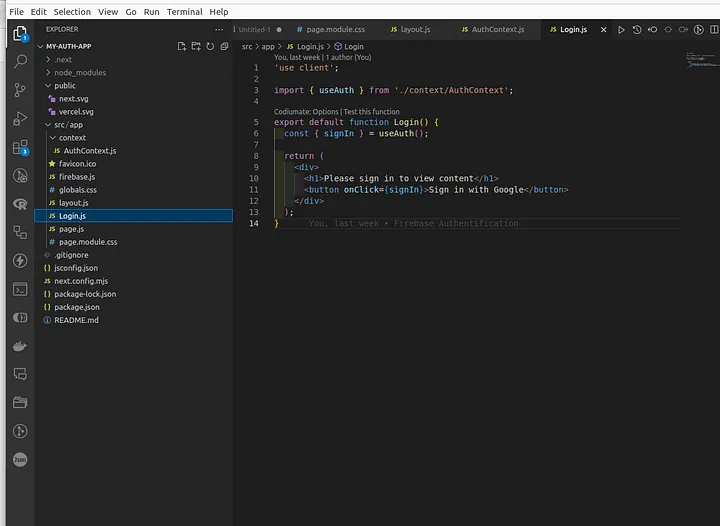
- Create a login component that uses the useAuth hook to access the sign-in function from the authentication context.
- This component will allow users to sign in with Google, providing a seamless authentication experience.
- Ensure the component is user-friendly and clearly indicates the sign-in options available.
Source code: https://github.com/proflead/auth-next-js-app/blob/fa15aa8d6544937aa480a4308a8676a3310ed0b2/src/app/Login.js
Protect Your Pages
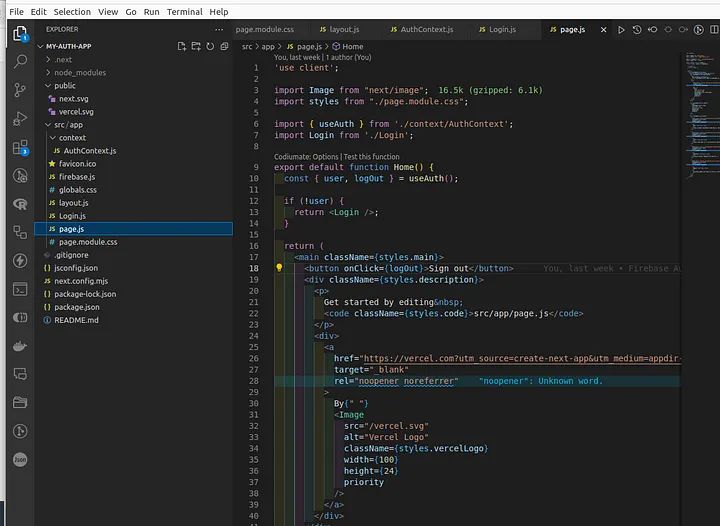
- Open page.js and import your login component and context.
- Modify the code to protect your content, ensuring that only signed-in users can access certain pages or features.
Source code: https://github.com/proflead/auth-next-js-app/blob/fa15aa8d6544937aa480a4308a8676a3310ed0b2/src/app/page.js
If you want to see the code of the entire project, please visit https://github.com/proflead/auth-next-js-app
Conclusion
That’s it! You’ve successfully set up authentication in your Next.js application using Firebase.
If you like this tutorial, please click like and share. You can follow me on YouTube, join my Telegram, or support me on Patreon. Thanks! :)
Cheers!