
I tried Firebase Studio, Google’s browser-based workspace for building web apps with AI assistance. Here’s how I created a project, previewed it, and prepared it for deployment.
What Is Firebase Studio?
Firebase Studio was officially unveiled during Google Cloud Next 2025 (early April 2025) as one of Firebase’s major new updates.
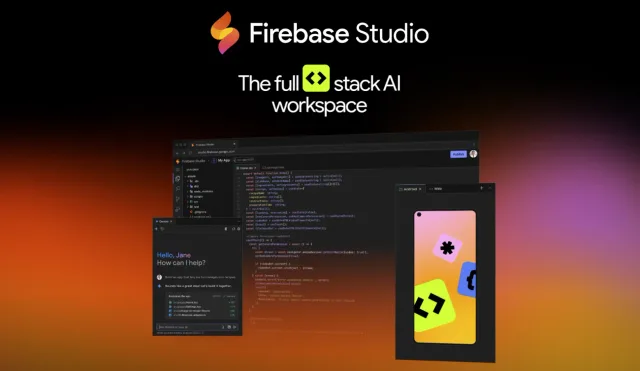
In short, Firebase Studio is a cloud-based development environment by Google that lives at studio.firebase.google.com. It combines:
- A full IDE based on VS Code (Code OSS)
- AI assistance from Gemini (Google’s LLM)
- Deep integration with Firebase services (Firestore, Auth, Hosting, Functions, etc.)
- A visual app prototyping agent that can generate a full-stack app from a prompt
You can create, preview, and deploy an app from the browser without setting up a local development environment.
If you already have a Next.js project and only need the hosting steps, use the Firebase deployment walkthrough. For adding a login flow, see Next.js authentication with Firebase.
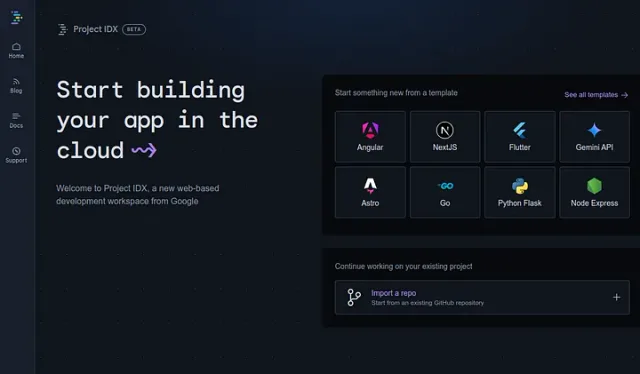
If to be honest, it’s not a new thing from Google; it’s a rebranded and updated version of Project IDX.
I would say currently the core feature is prototyping.
Prototyping with Firebase Studio
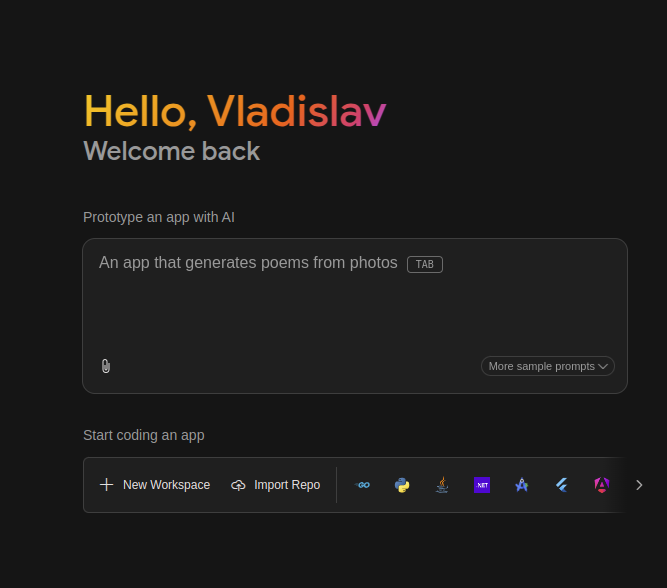
Prototyping Agent: Describe an app in natural language to generate a starting project. I’ll show an example later in this article.
What makes this feature so impactful is that it:
- Accelerates MVP creation: great for testing ideas quickly
- Reduces boilerplate: lets you focus on unique features
- Works with real code: so you can edit, extend, and deploy immediately
- Deployment: Firebase Studio uses Firebase App Hosting to build and publish your app through the “Publish” button.
Currently, it supports Next.js projects, but Google is planning to expand to other frameworks soon.
How Is It Different from the Firebase Console?
You can write code, test it, preview your app, and deploy from Firebase Studio.
The Firebase Console manages the project settings, database rules, analytics, and production configurations. Firebase Studio builds on top of that by letting you code, prototype, and iterate faster than ever.
So, these are two completely different tools.
Use Cases for Firebase Studio
- Rapid Prototyping: Build working versions of your app in hours, not days. Great for pitching ideas or testing concepts.
- Client Demos: Show functional versions of apps to clients without having to maintain a local environment.
- Learning & Education: Perfect for students, educators, and bootcamps. No installations. No config headaches. Just code.
- Solo Developers & Hackathons: Move fast and build entire apps from your browser during weekend projects or events.
- Cross-Team Collaboration: Allow frontend and backend devs to work in the same environment. Coming soon: real-time coding collaboration.
- AI Feature Exploration: Easily experiment with AI-driven features using built-in Gemini integration and Genkit setup.
Getting Started with Firebase Studio
It’s straightforward. Follow these steps:
- Navigate to studio.firebase.google.com
- Sign in with your Google account.
- On the dashboard, locate the “Prototype an app with AI” field. In the input field, enter a natural language description of your app. For example: A simple recipe maker that generates recipes based on the ingredients I have in my fridge. Simple UI, green color scheme.

- Optionally, upload an image to guide the app’s design, such as a color scheme or layout inspiration, and click the “Prototype with AI” button.
- Firebase Studio will generate a blueprint outlining. If you aren’t happy with it, you can use the chat pane to adjust the blueprint and click “Edit” to modify the blueprint.

- Once the app is generated, a preview will appear.

- To request modifications or add features, use the chat interface, element selector, or the “annotate” button.

- Once you are happy with the result, you can publish the application to the Firebase App Hosting by clicking the “Publish” button. Then, Firebase Studio will guide you through the process. If you are stuck, you can watch my video tutorial with a more detailed explanation.

Firebase Studio Pricing
Firebase Studio itself is currently in Preview and offers a free tier for developers:
Free Tier (Preview Access)

- 3 workspaces per user at no cost.
- 10 workspaces for members of the Google Developer Program.
- 30 workspaces for Premium members of the Google Developer Program.
However, there are some instances when costs may apply.
- Firebase App Hosting: Deploying your app requires a linked billing account, transitioning your project to the Blaze (pay-as-you-go) plan.
- Gemini API Usage: Utilizing Gemini for AI assistance beyond the free tier may lead to charges, especially for Google Workspace users who need a valid Gemini Code Assist subscription. But make sure you set up a budget alarm.
- Other Firebase Services: Services like Firestore, Cloud Functions, and Cloud Storage have free usage quotas, but exceeding these limits will result in charges.
Video Tutorial
Watch on YouTube: Firebase Studio
Conclusion
Firebase Studio is still in preview, so you may encounter bugs or limitations. Gemini can misread a prompt; check the generated code and revise the request when needed.
Have you already tried it? I’d love to hear your thoughts in the comments below.
Thanks for reading. Cheers! 😉