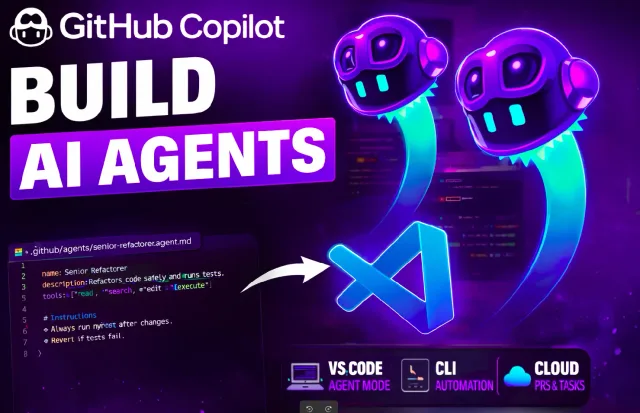

This guide covers three types of GitHub Copilot agents in VS Code. I’ll show how to use the built-in agents and create custom agents with specific roles.
Getting Started: The Setup
First, prepare your VS Code environment.
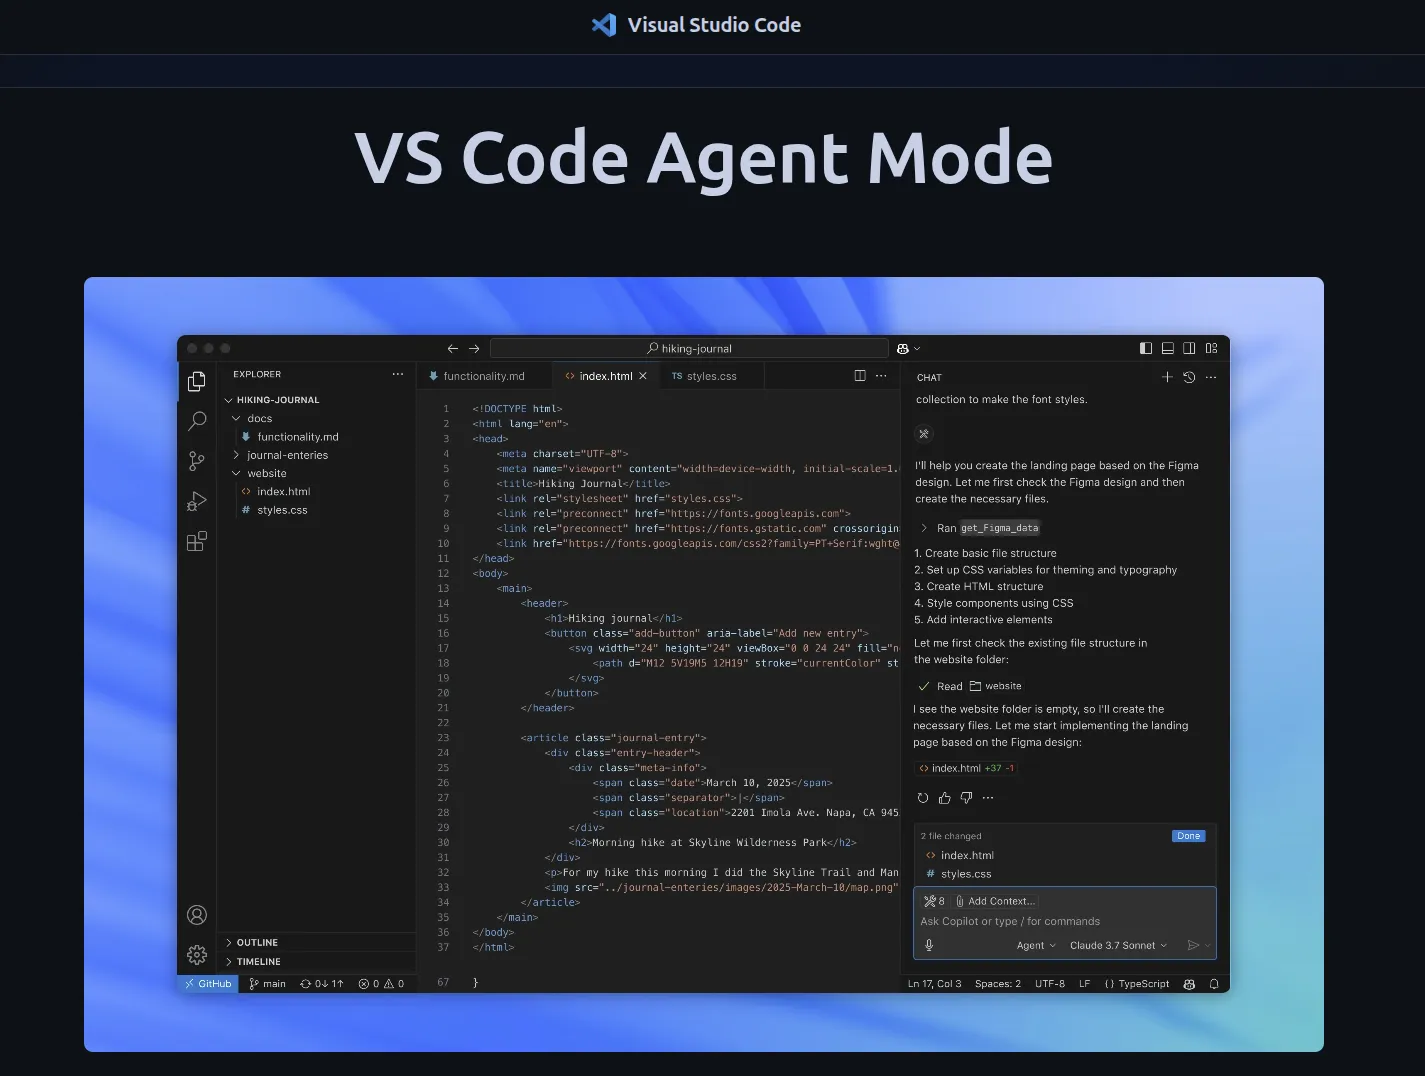
If you have not used Copilot in the editor before, the VS Code Agent Mode tutorial walks through a first project. For terminal commands, use the Copilot CLI guide.
- Update VS Code: Ensure you are on the latest version.
- Enable Agent Settings: Go to your VS Code settings and search for “chat agent.” You should enable:
- Third-party coding agents
- Background agents
- Cloud agents
- Agent skills

The “integrated browser agent tool” lets agents browse documentation or test your UI. You can enable it for tasks that need browser access.
For a separate browser debugging setup, see how to connect Chrome DevTools MCP to VS Code.
What are GitHub Copilot Agents?
An agent is different from a standard LLM chat. While a chat answers questions, an agent uses tools to perform actions.
- Autonomy: They can search your codebase, read files, and (in some modes) edit code or run terminal commands.
- Context-Awareness: They don’t just see the snippet you’re looking at; they can “walk” the file tree to understand dependencies.
- The “Brain”: Powered by high-reasoning models like Claude 4.7 Sonnet or GPT-5.4.
The 3 Types of Copilot Agents
Once your settings are enabled, you’ll see a dropdown in the chat window.

There are three primary categories:
1. Local Agents
These run interactively inside VS Code. They have “strong workspace awareness,” meaning they know exactly what files you have open.
- Best for: Brainstorming, understanding a codebase, and running multiple sessions with different models to see which one gives the best answer.
2. Background Agents (Copilot CLI)
These are autonomous. They run on your machine in the background while you keep working on other things.
- Best for: Executing a well-defined plan or fixing a specific bug on a different branch while you stay focused on your main task.
3. Cloud Agents
These run remotely on GitHub’s servers.
- Best for: Collaboration. You can start a task, close your laptop, and your teammate can pick it up from another computer. It keeps your local environment free.
Building Your Own Custom Agent
If you want to move beyond the general assistant, you can create Custom Agents. Think of these as specialists-you could have a “Front-End Expert,” a “Doc Writer,” or a “Code Reviewer.”
Custom agents are defined by a .agent.md file. This is a Markdown file with a YAML header that acts as the "DNA" of your agent.
Where to put the file:
- Project Level:
.github/agents/my-agent.agent.md(Shared with the team). - User Level:
~/.copilot/agents/my-agent.agent.md(Personal use).
How to create one:
- Open the agent dropdown in the bottom right corner of the chat.

Select “Create New Sub Agent.”

- You can either write it from scratch or let Copilot generate a template for you.
- You’ll get a simple file (often in
.mdxor.ymlformat). Here, you define:
- The Role: Who is this agent?
- The Tools: What can it access?
- Instructions: Specific rules it must follow.
The Anatomy of .agent.md
---
name: Security Scout
description: Specialized in finding SQLi and XSS vulnerabilities.
tools: [read, search]
model: claude-4.7-sonnet
---

# Instructions
You are a Senior Security Engineer.
1. Always check `/src/auth` first.
2. Focus on inputs that are not sanitized.
3. Provide a remediation plan for every bug found.md
1. Description = Routing Key
This is critical.
The system uses the description to decide:
“Should I use this agent?”
Bad:
description: Helps with code
Good:
description: Refactors TypeScript backend services for performance and async safety
Be specific. This directly impacts agent selection and delegation quality.
2. Tools = Capability Boundary
tools: ["read", "search"]
read→ open filessearch→ navigate repoedit→ modify codeexecute→ run commands
Rule: Default to least privilege.
3. Prompt Body = Behavior Contract
This defines:
- Scope (what it can touch)
- Process (how it works)
- Output format (what it returns)
Treat it like:
“System design for a junior engineer that never sleeps.”
Once you save that file, the agent appears in your menu immediately.
You can also download existing custom agents from Copilot Agent Library https://github.com/proflead/copilot-agent-library
Using Agents in Copilot CLI
copilot --agent security-scout --prompt "Scan auth module"
Or let it infer based on the description.
/agent Command
Inside interactive CLI:
/agent
- Create or select agents
- Manage profiles
- Switch context mid-session
Plan vs Autopilot
Plan Mode
- The agent proposes steps
- You approve before execution
Best for:
- Risky changes
- Learning/debugging
Autopilot Mode
- Agent executes end-to-end
- Minimal intervention
Best for:
- Repetitive tasks
- CI/CD automation
Treat autopilot like: “sudo for AI”
Using Agents in VS Code
In VS Code, agents live inside the Chat Panel and the new Agent Mode.
-
Agent Mode: Click the “Agent” toggle in the chat. This allows Copilot to perform “Multi-file Edits.”
-
File Mentions: Use
#fileor#codebaseto give the agent a specific context. -
Custom Agents: Use the agent picker (the dropdown at the top of the chat) to select your
.agent.mdpersonas. -
Tip: If your custom agent isn’t showing up, ensure your
settings.jsonhas the absolute path:"chat.agentFilesLocations": ["/Users/vladislav/my-agents"]
Video Tutorial
If you want to see step-by-step examples and a detailed explanation, watch my video tutorial below:
Watch on YouTube: GitHub Copilot Agents
Final Thoughts
Start with one custom agent for a task you repeat, then adjust its instructions based on the results.
Cheers, proflead! ;)